Using a Beachwaver curling iron can give you beautiful, wavy hair. This tool is perfect for creating stylish curls with ease.
Curling your hair at home might seem tough, but the Beachwaver makes it simple. This curling iron is popular for its user-friendly design. It can help you achieve salon-quality curls without the fuss. In this guide, we will walk you through the steps to use a Beachwaver curling iron effectively.
Whether you are new to curling irons or just looking to improve your skills, this guide will offer tips and tricks to get the best results. Get ready to transform your hair with ease and confidence.
Choosing The Right Beachwaver
Choosing the right Beachwaver curling iron can make styling your hair easier and more enjoyable. There are different models available, each with unique features. Understanding these can help you make the best choice for your hair type and styling needs.
Types Of Beachwaver Models
Beachwaver offers several models, each designed for different hair types and styles.
- Beachwaver S1: This model is great for fine to medium hair. It creates loose, beachy waves.
- Beachwaver S1.25: Perfect for medium to thick hair. It offers bigger, softer waves.
- Beachwaver S.75: Ideal for short to medium hair. It creates tighter, more defined curls.
Features To Consider
When selecting a Beachwaver, consider the following features:
| Feature | Description |
|---|---|
| Barrel Size | Determines the type of curls or waves. Larger barrels create looser waves, while smaller barrels create tighter curls. |
| Temperature Control | Adjustable heat settings for different hair types. Lower settings for fine hair, higher for thick hair. |
| Rotation Speed | Controls how fast the barrel rotates. Faster speeds for quick styling, slower for more control. |
| Material | Ceramic barrels distribute heat evenly. Titanium barrels heat up faster and retain heat longer. |
Choosing the right model and features can help you achieve the perfect look with ease. Consider your hair type and styling preferences to find the best Beachwaver for you.
Prepping Your Hair
Prepping your hair is the first step to achieving perfect curls with a Beachwaver Curling Iron. Proper preparation ensures your curls stay defined, bouncy, and last longer. Follow these steps to get your hair ready for curling.
Washing And Conditioning
Start by washing your hair with a moisturizing shampoo. Clean hair holds curls better. Rinse thoroughly. Apply a conditioner focusing on the ends. Let it sit for a few minutes.
Rinse out the conditioner with cool water. This helps to seal the cuticles. Pat your hair dry with a towel. Avoid rubbing as it causes frizz. Allow your hair to air dry or use a blow dryer.
Applying Heat Protectant
Before using the Beachwaver Curling Iron, always apply a heat protectant spray. This shields your hair from heat damage.
Spray the protectant evenly on your hair. Focus on the mid-lengths and ends. Use a comb to distribute the product thoroughly.
Let the protectant dry completely. Your hair is now ready for curling.
| Step | Description |
|---|---|
| 1 | Wash and condition your hair |
| 2 | Rinse with cool water |
| 3 | Pat hair dry with a towel |
| 4 | Apply heat protectant spray |
| 5 | Comb to distribute product |
| 6 | Let protectant dry completely |
Following these simple steps ensures your hair is prepped and ready for curling. Enjoy beautiful, long-lasting curls with your Beachwaver Curling Iron!
Sectioning Your Hair
Sectioning your hair is crucial for achieving beautiful curls with your Beachwaver curling iron. Proper sectioning ensures even heat distribution and consistent curls. Follow these steps to make the most of your styling session.
Dividing Hair Into Sections
Start by brushing your hair to remove any tangles. This makes sectioning easier. Divide your hair into three main parts. First, split it horizontally from ear to ear. Clip the top part out of the way. Next, divide the bottom half into two sections. One on the left, one on the right. These smaller sections are easier to manage.
Clipping Sections
Use hair clips to secure each section. This keeps the hair from mixing together. For best results, use strong clips that hold your hair in place. Start curling from the bottom sections. Work your way up. Release one section at a time. Curl it, then clip it back to keep it organized. Repeat until all sections are curled. This method ensures every strand gets the right amount of attention.
Setting Up The Beachwaver
Setting up your Beachwaver curling iron is simple. Follow these steps to get the best results. Before you start, ensure your Beachwaver is unplugged. Place it on a heat-resistant surface.
Adjusting Temperature
First, adjust the temperature. Different hair types need different heat levels. Fine hair requires lower heat. Thick hair needs higher heat. Turn on your Beachwaver. Use the temperature dial to set the heat. Start with a lower setting. Increase if needed.
Understanding Controls
Next, understand the controls. The Beachwaver has a few buttons. There is a power button. Press it to turn the device on and off. There are arrow buttons. These control the direction of the curl. Press the left arrow for left curls. Press the right arrow for right curls.
Finally, there is a home button. This resets the clamp. Press it if the clamp is not in the right place. Practice using these buttons before curling your hair. It will make the process easier.
Curling Techniques
Using a Beachwaver curling iron can help you achieve beautiful, effortless waves. This section will guide you through various curling techniques. With these methods, you can create different styles, from tight curls to loose waves.
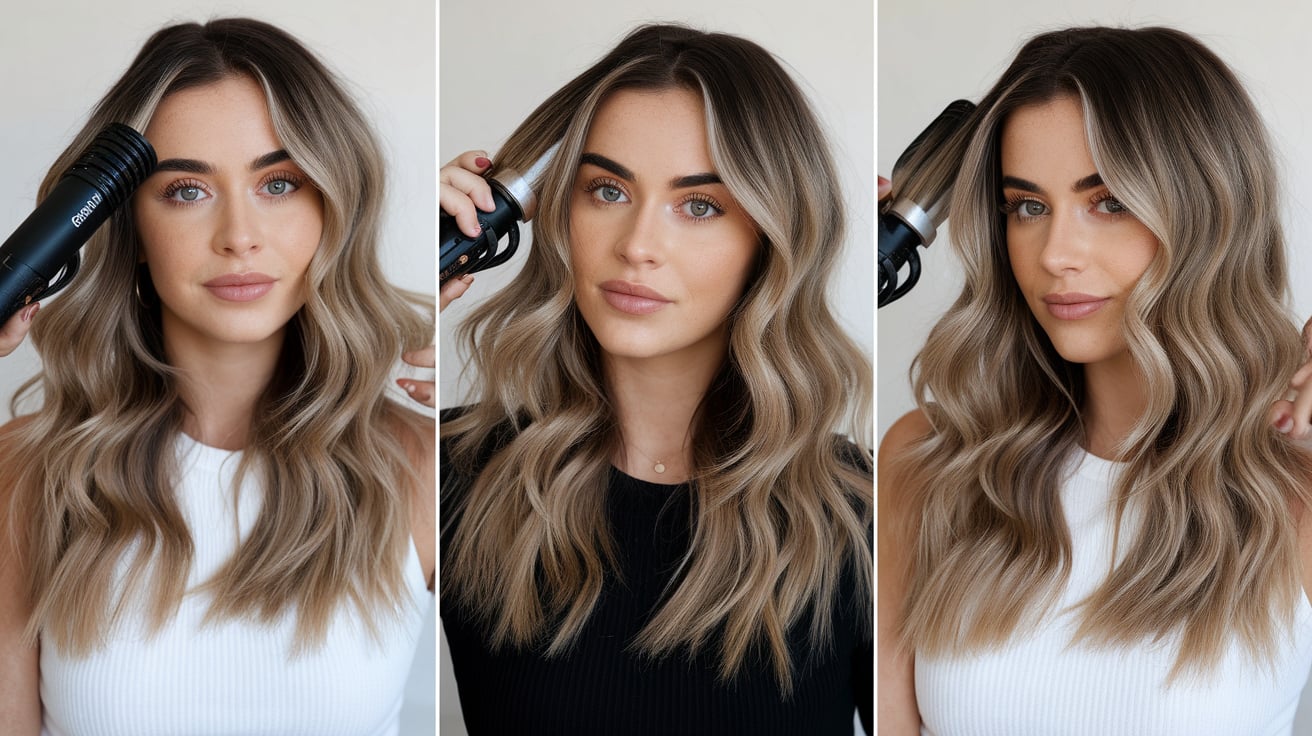
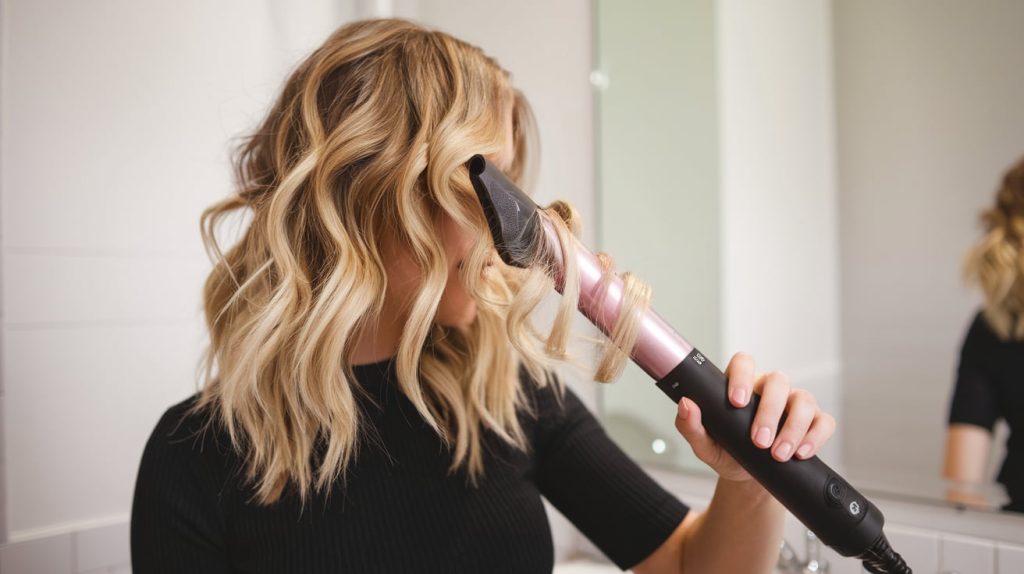
Wrapping Hair Around The Barrel
Properly wrapping your hair around the barrel is the key to perfect curls. Follow these steps:
- Divide your hair into small sections.
- Clamp the end of a section with the Beachwaver.
- Press the button to rotate the barrel.
- Wrap the hair around the barrel, moving upwards.
- Hold for a few seconds before releasing.
Ensure the hair is wrapped evenly around the barrel. This helps in creating uniform curls.
Timing For Different Waves
The duration you hold the hair on the barrel affects the curl type. Here’s a quick guide:
| Wave Type | Hold Time |
|---|---|
| Loose Waves | 5-8 seconds |
| Soft Curls | 8-12 seconds |
| Tight Curls | 12-15 seconds |
Adjust the hold time based on your hair type. Fine hair needs less time, while thick hair may need a bit more. Practice to find your perfect timing.
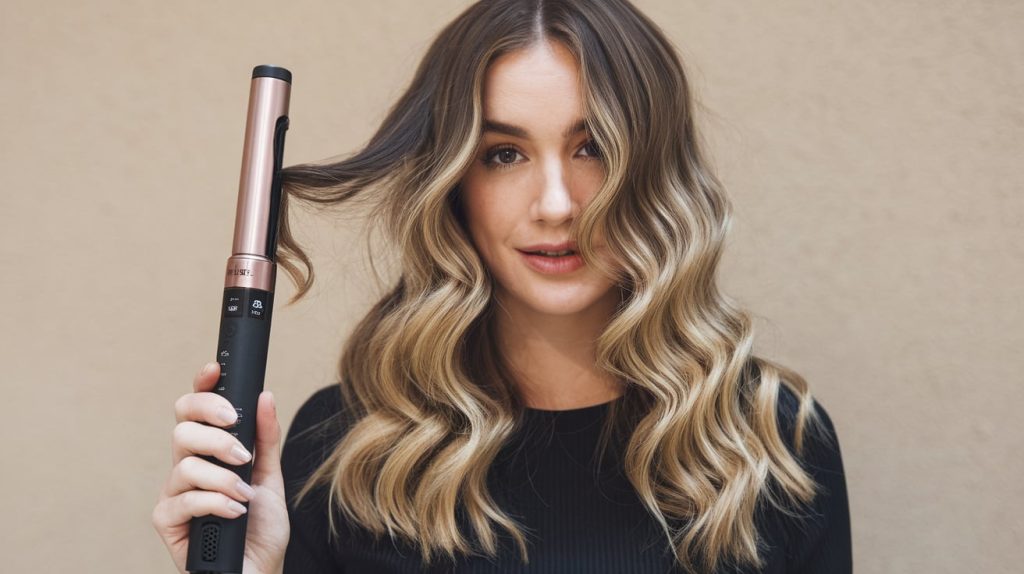
Styling Your Waves
Create perfect beachy waves using a Beachwaver curling iron. Wrap small sections of hair around the barrel. Hold for a few seconds, then release for natural-looking curls.
Creating perfect beach waves with a Beachwaver curling iron is easy. Styling your waves is the next step to achieve that effortless look. Here are some tips to ensure your waves look natural and stay in place throughout the day.
Using A Texturizing Spray
Start by using a texturizing spray. This helps add volume and hold. Spray it lightly onto your hair. Focus on the roots and mid-lengths. Avoid the ends to prevent them from looking dry. Use a light hand to avoid weighing down your hair.
Running Fingers Through Curls
Once your waves are set, run your fingers through them. This helps break up the curls. It creates a more natural and relaxed look. Avoid using a brush as it can make your hair frizzy. Use your fingers to gently separate the curls. This keeps the waves looking soft and smooth.
“`
Maintaining The Waves
Maintaining the waves after using a Beachwaver curling iron is crucial. You want those beautiful curls to last all day. By following a few simple steps, you can keep your waves looking fresh and bouncy.
Spraying With Hairspray
After curling, use a light hairspray to set your waves. Hold the spray about 12 inches from your hair. This helps to distribute the spray evenly. Avoid using too much as it can weigh down your curls.
Choose a flexible hold hairspray for a natural look. This allows your waves to move freely. The goal is to add hold without stiffness.
Avoiding Humidity
Humidity can ruin your curls quickly. Try to avoid humid conditions if possible. If you must be in a humid environment, use an anti-humidity spray. This helps to protect your curls from frizz.
Keep your hair dry. Moisture in the air can cause your curls to fall flat. Carry a small umbrella or wear a hat if it looks like rain. These small steps can help maintain your beautiful waves.
Troubleshooting Common Issues
Using a Beachwaver curling iron can give you beautiful, bouncy curls. But sometimes, things don’t go as planned. You might get frizzy waves or uneven curls. Don’t worry! Here are solutions to these common issues.
Fixing Frizzy Waves
Frizz can ruin your perfect waves. To fix frizzy waves, follow these steps:
- Use a heat protectant: Always apply a heat protectant spray before curling. It helps to reduce frizz.
- Adjust the temperature: Lower the heat setting on your Beachwaver. High heat can cause frizz.
- Use the right products: Apply a smoothing serum or anti-frizz cream after curling. It helps to keep your waves sleek.
- Brush gently: Use a wide-tooth comb to gently separate the curls. Avoid using a brush, as it can cause frizz.
- Finish with hairspray: Lightly spray your hair with a flexible hold hairspray. It helps to tame any flyaways.
Dealing With Uneven Curls
Uneven curls can make your hairstyle look messy. Here’s how to get even curls every time:
- Section your hair: Divide your hair into small, even sections. This ensures each curl is uniform.
- Hold the iron correctly: Hold the Beachwaver vertically and wrap your hair evenly around the barrel.
- Consistent timing: Curl each section for the same amount of time. This helps to get even curls.
- Check the rotation: Make sure the iron is rotating evenly. If it’s not, you might need to reset it.
- Practice: The more you use your Beachwaver, the better your curls will become.
| Issue | Solution |
|---|---|
| Frizzy Waves | Use heat protectant, adjust temperature, apply smoothing products, brush gently, finish with hairspray |
| Uneven Curls | Section hair, hold iron correctly, consistent timing, check rotation, practice |
Following these tips can help you achieve smooth, even curls with your Beachwaver curling iron.
Frequently Asked Questions
How Do You Turn On A Beachwaver?
To turn on a Beachwaver, plug it in and press the power button. Adjust the temperature using the +/- buttons.
What Hair Types Work With Beachwaver?
Beachwaver works with all hair types, including straight, wavy, and curly. Adjust the heat settings for best results.
How Long Should You Hold The Beachwaver?
Hold the Beachwaver for 5-10 seconds per section. This ensures well-defined curls without damaging your hair.
Can You Use Beachwaver On Short Hair?
Yes, Beachwaver can be used on short hair. Use smaller sections and lower heat settings for optimal results.
Conclusion
Achieving beautiful curls with a Beachwaver curling iron is simple. Follow the steps mentioned. Practice makes perfect, so don’t worry if it’s not perfect at first. Soon, you’ll create stunning curls with ease. Remember to use heat protectant spray to avoid damage.
Cleaning your Beachwaver regularly keeps it in good condition. Happy styling and enjoy your gorgeous curls!